Learning procedure

Activity 1: Introduction to Bridges
· We begin by discussing different types of bridges (e.g., beam, arch, suspension) and their purposes.
· We show pictures or diagrams of various bridges from around the world.
Famous bridges:
Modern bridges are architectural constructions built to span physical obstacles to provide easy passage. Even though their function is simple and clear, the mere presence of these large man-made objects has transformed many of them into cultural or historic landmarks of great importance to the local population, nations or even entire world.
List of Most Famous Bridges in the World (historyofbridges.com)

The 5 Most Incredible Bridges in the World
Cable-stayed bridge between Rio and Antirio
A great vision that came true
The Rion-Antirion Bridge is the longest cable-stayed bridge in the world, completed in 2004 and is a landmark of Greece in the 21st century, improving the movement of people and goods in Western Greece.


Activity 2: Research of ready made bridges at school

Activity 3: Research and Investigation
· The students explore materials that can be used for bridge construction, such as wood, steel, or concrete.
· We provide books or online resources for students to learn about the forces that act on a bridge, including tension, compression, and shear.


Activity 4: Meet with an engineer
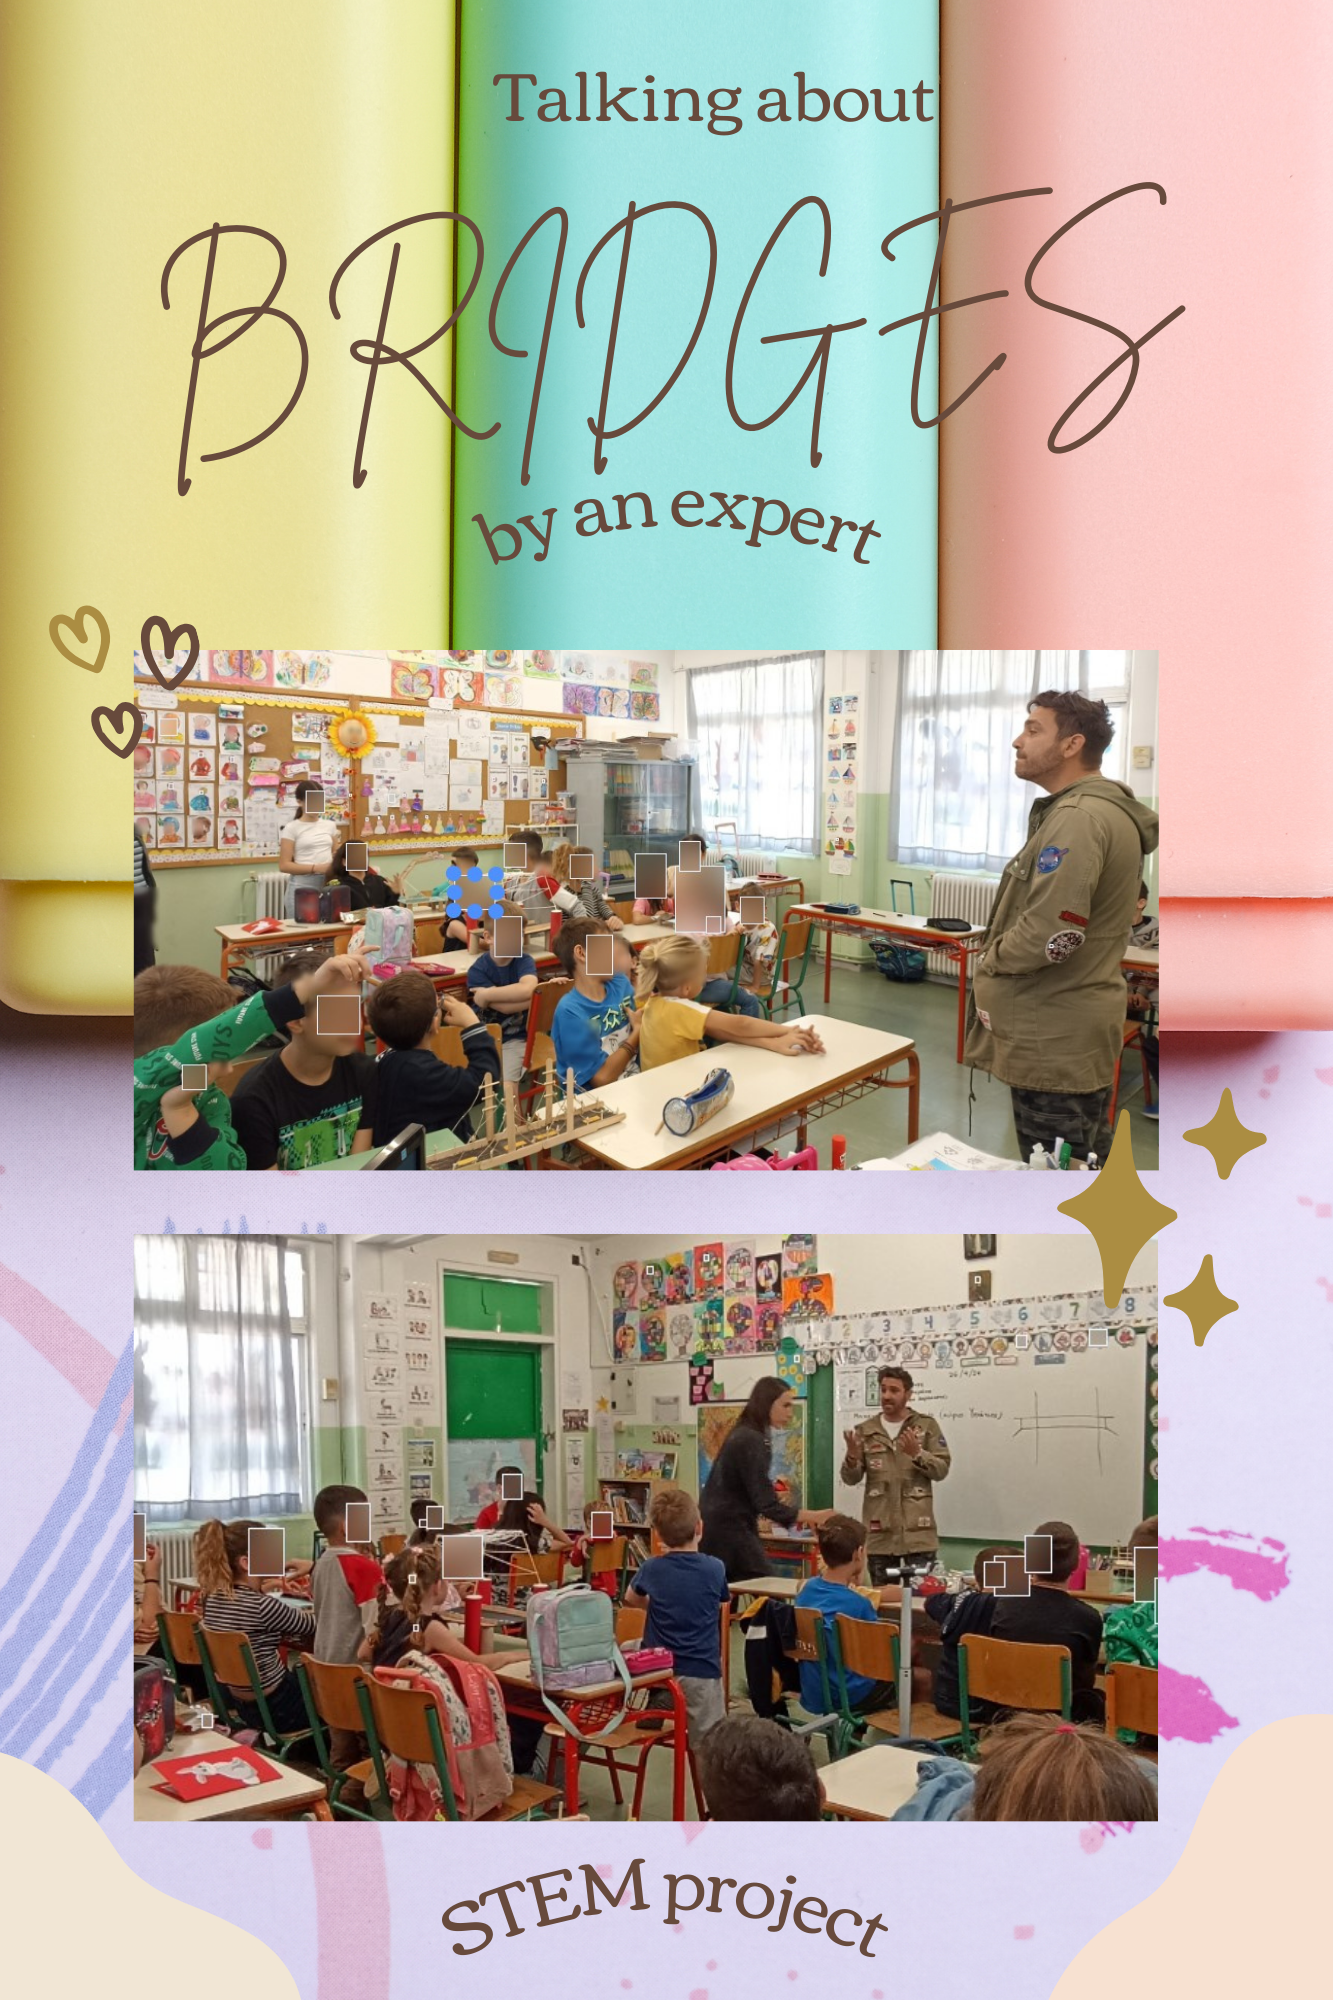
We learned about bridges by an expert . A mechanical engineer visited our classroom. He told us about the 4 different types of bridges, the importance of a good forehead planning and the meaning of appropriate materials.

Activity 5: Design and Build Challenge
· The students are given a design challenge, such as building a bridge that can span a gap of a certain length or support a specific weight.
· They are allowed time to plan and sketch their designs before building.
· They are also encouraged to incorporate what they've learned about bridge types and forces into their designs.

Activity 6: Bridge Building Experiment
· The students in small groups are provided with materials.
· We challenge each group to build a bridge using craft sticks, straws, and playdough or clay.
· We encourage experimentation with different bridge designs and materials.
· Test the strength of each bridge by placing small toy cars or objects on top.
The students, after having made their research, they chose the kind of bridge they will construct with their team.
They decided how they will find and bring the materials and started constructing their creations.


Our bridges were tested with the help of the expert, the mechanical engineer!
We experimented with weights and came to results.


Activity 7: Presentation and Reflection:
· Each group present their bridge designs to the class, explaining their materials, construction methods, and any challenges they encountered.
· A discussion follows about what worked well and what could be improved in each design.
· The students are encouraged to reflect on what they've learned about bridges and the engineering design process.
After constructing the bridges in the STEM activities, the students created a Powerpoint presentation.


Comments
Post a Comment